| “ | As we advance, we grow and learn. | „ |
| ~ HIVE upon jumping into a sector. |
| This article is about locations from Everspace. For locations from Everspace 2, see Locations (ES2). |

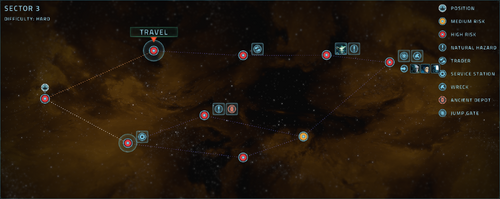
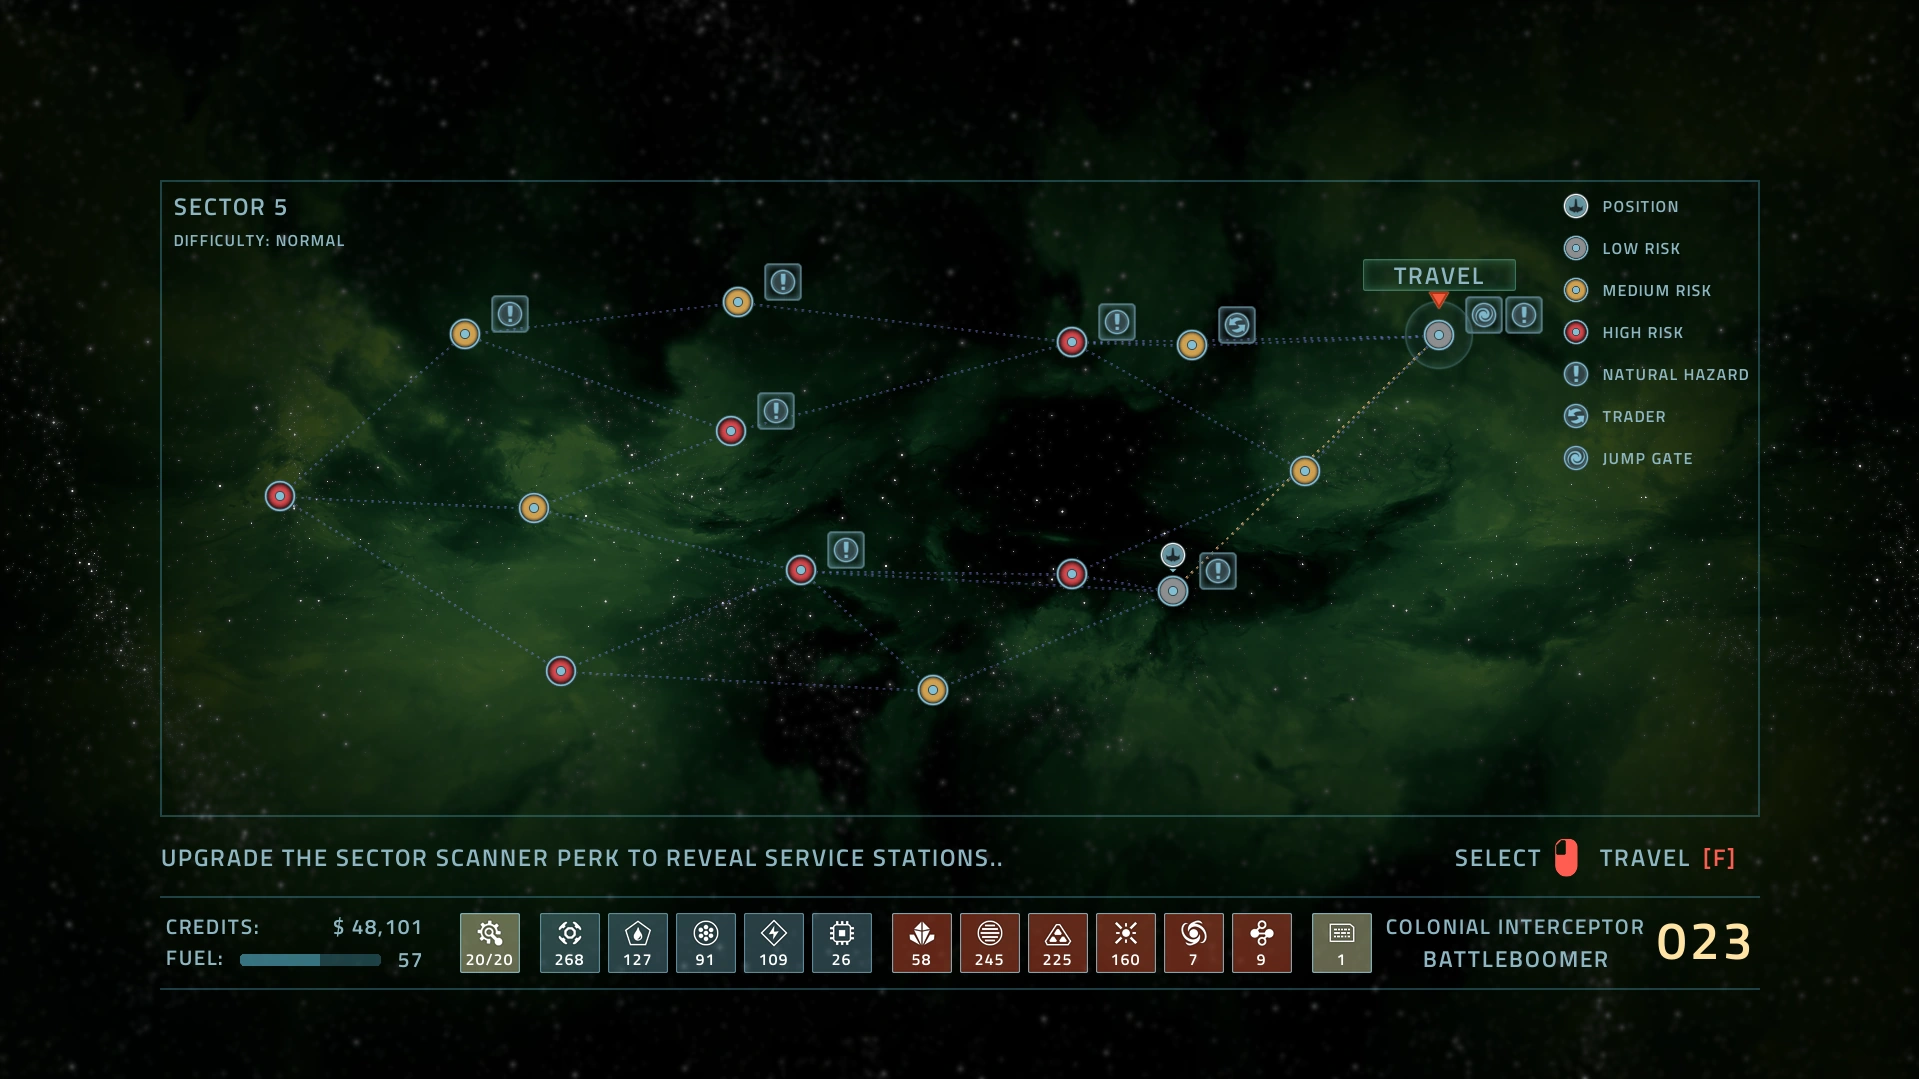
A screenshot example of the map, in sector 3 (hard difficulty).
There are many important locations found in Everspace. Most are shown on the sector map with a high enough level in the pilot perk Sector Scanner.
Each zone/map is only a limited area. Going past a certain point will cause the player's ship to take significant damage over time and eventually death. When entering this damage zone, a warning will pop up saying "Leaving safe orbit".
Sectors
Each of the first six sectors is procedurally generated. Each run, the map and individual zones will be different. However, each sector has a unique sun and average light color scheme (on the map and in-zone). This also affects the color of the solar storm hazard.
- Sector 1: Blue with a cold sun
- Sector 2: Blue with a warm sun
- Sector 3: Orange/yellow with a warm sun
- Sector 4: Violet
- Sector 5: Green with a green sun
- Sector 6: Purple
- Sector 7: Neutral with a neutral/cold sun.
Sector 7
Sector 7 is the last sector in Everspace, and is always the same, though it does change after a certain point in the story. It has only one location. More info here.
Map Legend
While traversing the Demilitarized Zone to the final destination, the navigational map will indicate several aspects of each zone with several different symbols, listed below.
Current Location
Marked with ![]() over what zone the player is currently in.
over what zone the player is currently in.
Jumpgates
![]() Located in the last zone of each sector (except Sector 7), they allow the player to travel to the next sector, with no fuel cost.
Located in the last zone of each sector (except Sector 7), they allow the player to travel to the next sector, with no fuel cost.
Threat levels
Indicates the threat of strong enemies in that zone.
![]()
![]()
![]()
Higher threat levels mean higher chances of enemies warping in and higher chances of stronger enemies.
(Perk level of Perks#Sector_Scanner needed: 1st.)
Natural hazards
![]()
There are many types of natural hazards that are usually detrimental to the player, such as:
- Electric storms
- Solar storms
- Scanner/Visual impairment (thick "clouds")
- Star Hazard (danger of overheating, close to a star)
- Dark Nebulae
- Black holes, mines, jump suppressors (not marked with the natural hazard icon)
(Perk level of Sector Scanner needed: 2nd.)
Trader
![]()
Shows the location of a Trader, where there are many trading options.
(Perk level of Sector Scanner needed: 3rd.)
Service Stations
![]()
Shows the location of a Service Station, which offers up to three services (refueling, repairing, and trading).
(Perk level of Sector Scanner needed: 4th.)
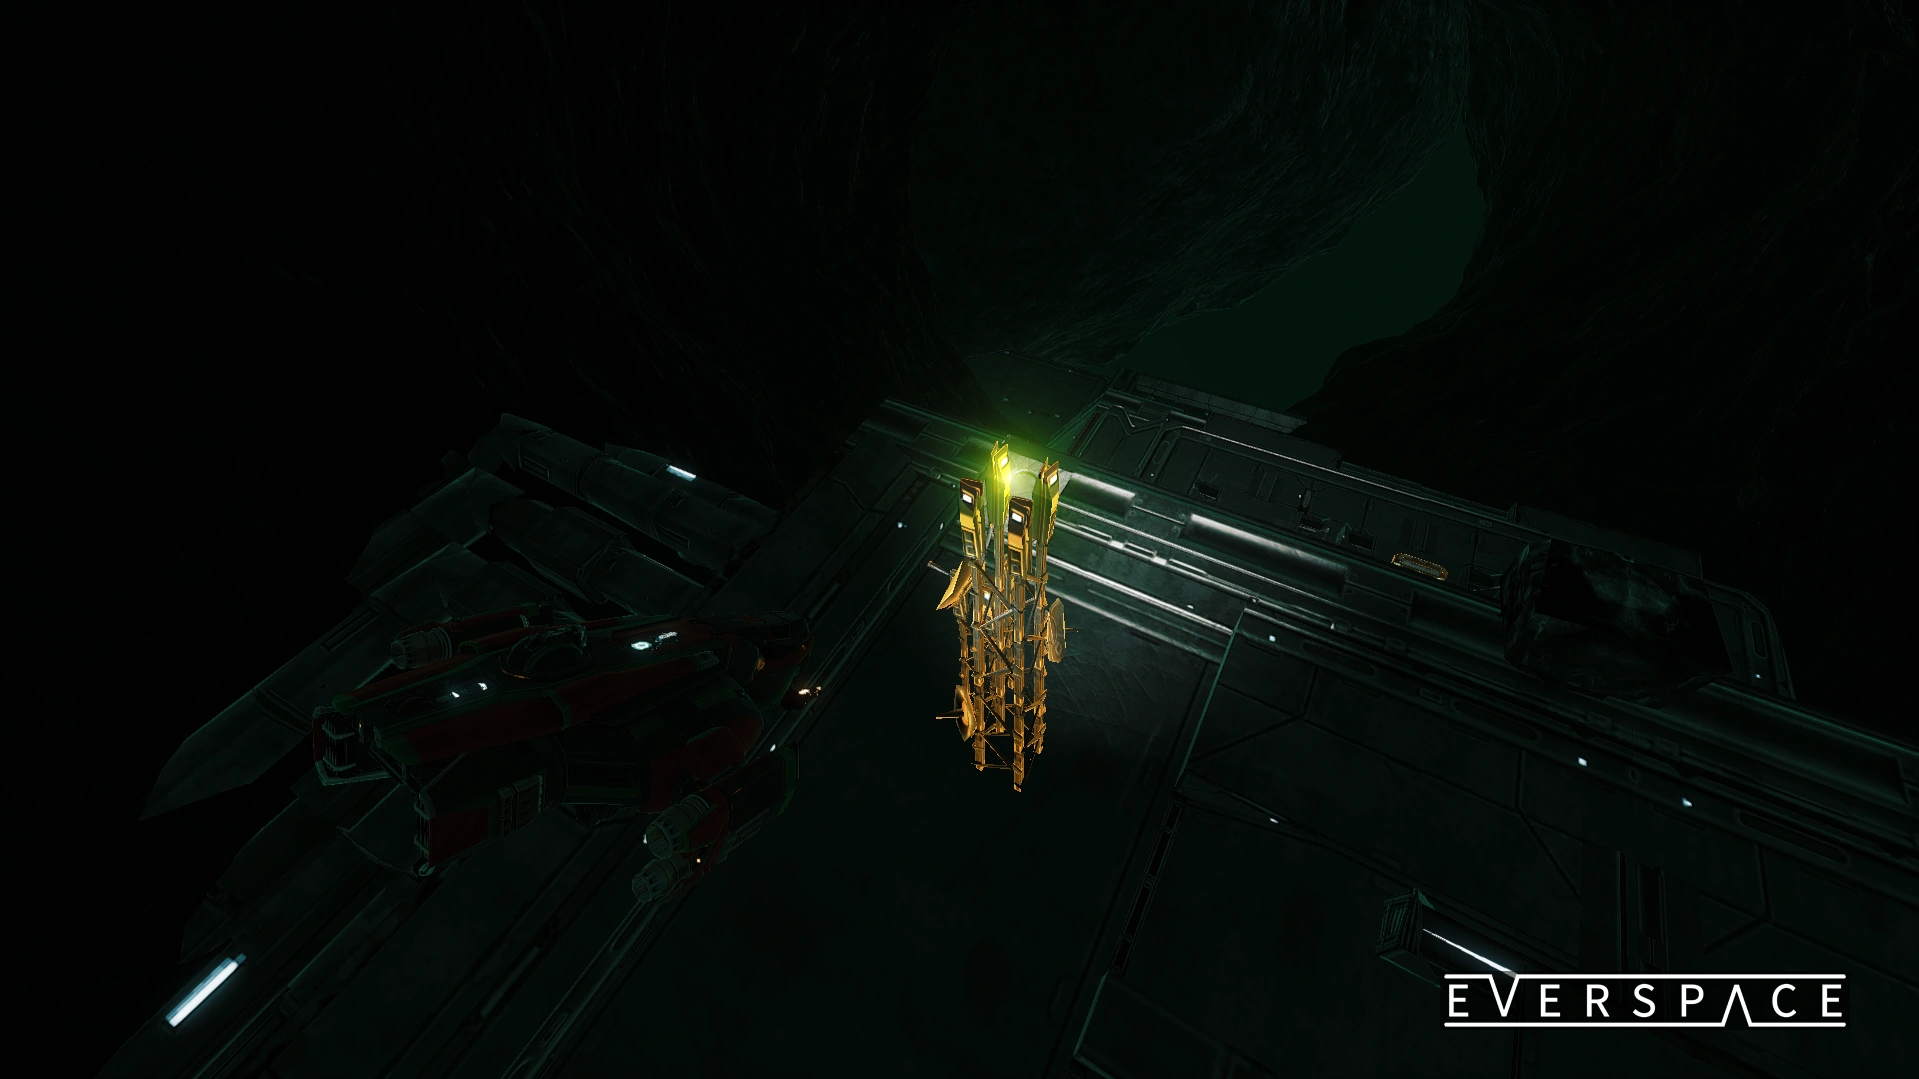
Ancient Depots
![]()
Also known as Ancient Structures or Ancient Warp Gates.
(Ancient Structures Glyph needed to see. Otherwise, it will show up as a natural hazard due to the scanner impairment present in every zone with an Ancient structure.)
DNA
![]()
Shows the location of an enemy clone with a DNA fragment. Once all 8 DNA fragments have been delievered to the Lab, it will not show up on the map anymore, but enemy clones will still spawn.
Encounters Expansion NPCs
![]()
![]()
![]()
![]()
![]()
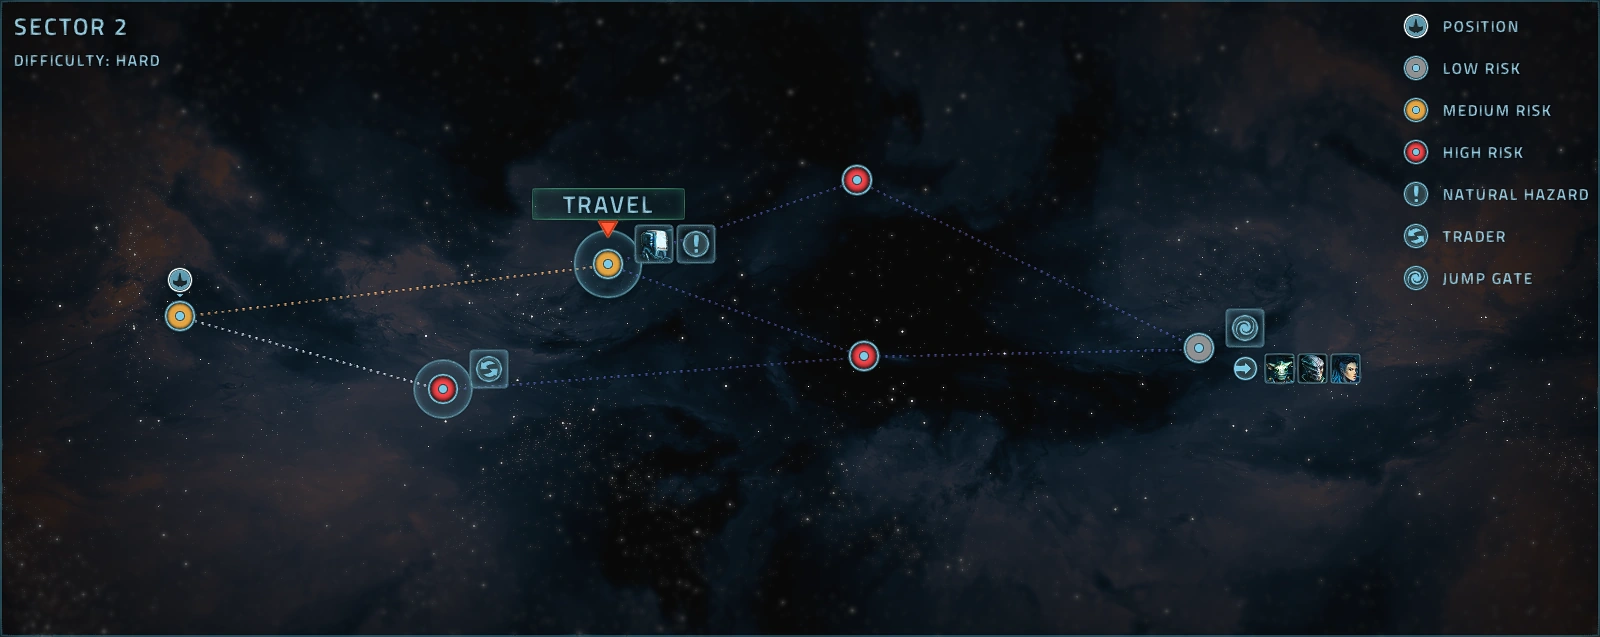
Shows the location of an NPC. Each character can only spawn once each run, and no more than one can spawn in the same location. They all tend to spawn in the earlier sectors (1-4) rather than the later sectors (5-6). If an NPC did not spawn in the current sector but is in one of the later sectors, their icon will show next to the jump gate. After Elek's and Karlie's questlines are completed, they will no longer spawn.
Additional in-zone locations
Unmarked on the sector map, there are many other locations/structures in the game:
- Wormholes to an Okkar Homeworld - unlocked near the end of Karlie's quest line.
- Colonial structures
- There are many derelict and abandoned stations and structures scattered throughout the sectors, often with Subroutines.
- G&B mining bases and freighters with mining lasers and drones.
- G&B Factories, large stations that need to be powered up before offering various services.
- Small or large outlaw structures can be found, usually with jump suppressors, drone servers, ship hangars, and turrets. These may have been old Colonial or G&B derelicts commandeered by the outlaws.
- Asteroids are the most commonly-spawned objects.
- Large asteroids are usually are somewhat hollow, and spawn with Crystal deposits, sometimes Containers, and sometimes Outlaw or Colonial structures.
- Clusters of small or medium asteroids often spawn with Resources or Containers.
 Communication Hubs or Comm Hubs
- Spawn on various stations and are easily picked up by the scanner
- Reveal everything in the current zone after hacking it by staying close to it for several seconds
Lore Locations
While not very relevant to gameplay, there are several locations mentioned in the game's lore, such as:
- Demilitarized Zone - Where the game takes place
- Cluster 34 (AKA Beltegrade Cluster) - A large area in which is the DMZ.
- The Colonial HQ, a military megastructure built after the Colonial-Okkar War. More info in the Codex.
- Codo 5, the home planet of the K'Nos, Mester Throng's species.
Gallery

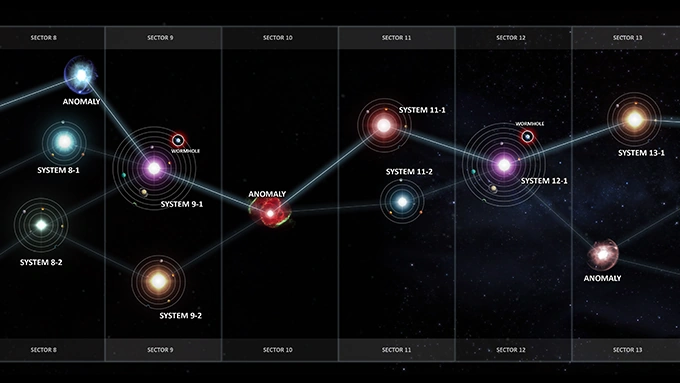
A concept image of the sector map found on the Kickstarter
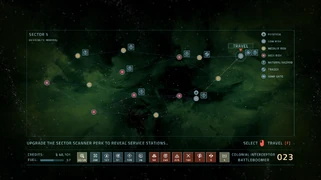
An unusually convoluted sector map.
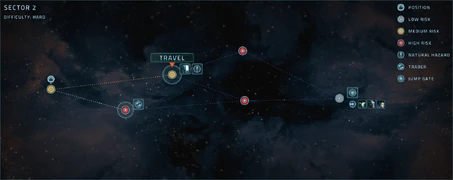
An example of sector 2 in hard difficulty
A communication hub